Summer is here, are you ready for exciting beach trips? Let’s explore simple summer beach nails ideas to make you shine on the beach. We’ll also guide you through the steps to do your own nails at home. With just a few simple tools like nail polish, a nail file, and a UV lamp, you can design your own unique set of nails. Read more in the article.
Trending simple summer beach nail designs
Summer is the ultimate season for adventure and exploration. As you curate your wardrobe with breezy dresses and stylish swimwear, don’t forget the finishing touch that can truly elevate your look: a stunning set of nails.
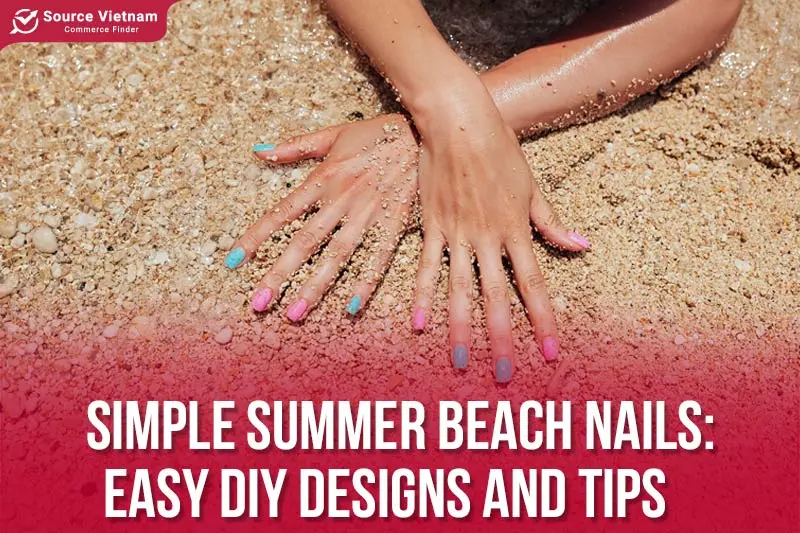
Your fingertips are a canvas for expressing your personal style, and with the vibrant energy of summer, there’s no limit to the creative nail designs you can experiment with. Let’s check out some simple vacation beach nail designs ideas that you can do for this summer.
Some beach nail art designs
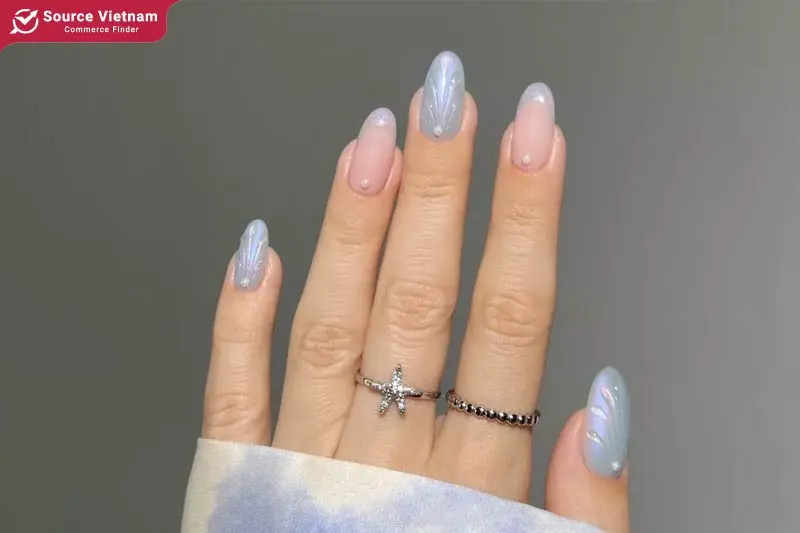
- Light blue French tip nail design: The classic French tip never goes out of style. It offers a sophisticated and elegant look, but with a youthful twist. Simply combine this design with pastel or cat-eye blue and add marine-inspired elements like seashells or pearls for a soft, beautiful, beachy look.
- Water effect design: Another must-try beach nail design is the water effect on a blue base. You can add white water droplets on a blue background, combined with small flowers or pearls for a striking nail art.
- 3D seashell gel design: When it comes to trending nail designs, 3D seashell gel nails are a must-try. You can combine them with colors like blue, yellow, and pastel pink to create the feeling of a sunny beach. However, this design requires a skilled technician to execute.
- Neutral seashell nail designs: Not all beach-inspired designs need to be blue. You can create a set of pastel nail colors including yellow and pink, then add seashell, starfish, pearl, and glitter accents. This will give you a warm, sun-kissed look.
- Floral pop designs: One of the images that reminds us of the sea is tropical flowers. Therefore, you can create tropical nail art such as orange sunset-colored nails, combined with 3D gel flowers to create a soft, sunset-like look.
- Ocean ombre design: An ombre design transitioning from deep blue to light blue, combined with glitter, will create a sparkling and personalized set of nails, elevating your overall outfit.
Must-try nail polish colors for beach-themed nail designs
If you want to do your own simple summer beach nails at home, you can refer to the following summer nail colors, which are both beautiful and modern, even when applied alone.
- Summer chic white nail: White nail polish is timeless and always a summer nail trends. It’s the perfect match for a beachy vibe, giving you a clean, sophisticated look that goes with any outfit.
- Shimmering pearl nail: This year is the year of minimalism, and pearl is the color of the moment. Adopted by many celebrities, this is a must-try color for your ocean-inspired nails.
- Blue cat-eye: What goes better with the blue ocean than a pastel blue? It’s the color of the deep blue sea. And to make your nails even more stunning, try a cat-eye blue. It’s both sparkly and as deep as the ocean under the sunlight.
- Mirrored purple: With a mirrored pearl purple, your nails will always look beautiful and shiny like pearls. This easy summer beach nail art will boost your confidence and make your trip more enjoyable.
- Nude colors: Offer a sophisticated, elegant, and mature look, keeping your hands clean. A simple nude color is all you need for a stunning beach manicure.
- Pastel Pink: This is like a gentle sea breeze, bringing cute summer nail designs a sense of peace and tranquility. This sweet pink hue evokes images of delicate peach blossoms and pink clouds at sunset, creating a feminine, gentle, and incredibly romantic look.
Some suggestions when choosing beach nail designs and colors
Maximize the impact of your nail color, consider selecting shades that harmonize with your skin tone. By choosing nail polish that complements your complexion, you can enhance your natural radiance and create a polished, put-together look.
Choose based on your outfits, you can plan the outfits you’ll wear during your trip and then choose nail art ideas for summer that harmonizes and matches.
Consider your nail’s unique needs when selecting an application method. Opting for the right technique, whether it’s gel, acrylic, or traditional polish, can significantly impact the longevity and overall appearance of your nail art.
Whether you opt for a harmonious color palette or a bold, contrasting combination, the possibilities are endless. Experiment with different shades and textures to create nail art that perfectly reflects your unique style.
Designs like flowers, waves, and rhinestones can be added to accentuate your summer nail ideas.
The necessary nail art tools for doing simple summer beach nails at home
Ready to channel those carefree summer vibes into your nail game? Gather your supplies and let’s dive into creating stunning DIY summer beach nails. To ensure your masterpiece is as flawless as the ocean breeze, equip yourself with this essential toolkit:
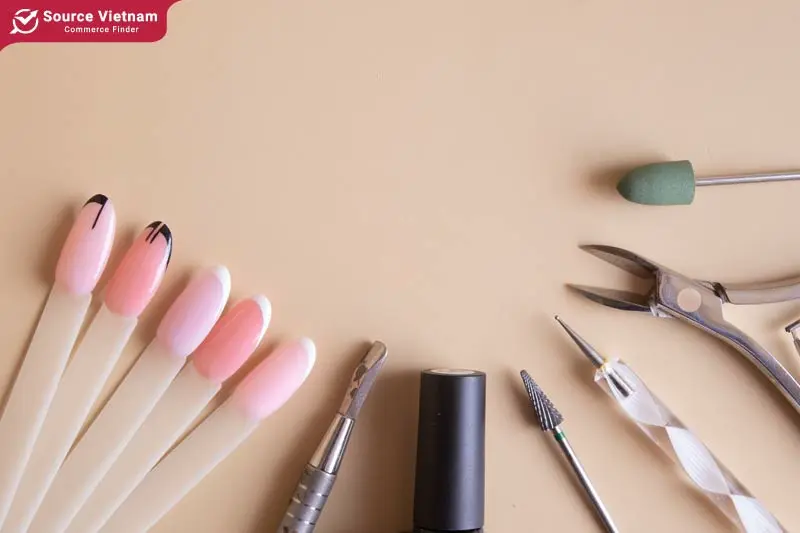
- Nail clippers: Used to trim and shape nails.
- Nail file: Used to shape and smooth the nail surface. Alternatively, you can prepare an electric nail file and drill bits if you know how to use them.
- Cuticle pusher: Used to push back excess cuticle around the nail.
- Cuticle nipper: Used to trim excess cuticle around the nail (if necessary).
- Base coat: Protects the nail and enhances the adhesion of the color polish.
- Nail polish: A variety of colors to choose from based on your preference.
- Topcoat: Protects the color polish and adds shine to the nails.
- Cotton swabs: Used to clean up any polish mistakes.
- Wooden stick: Used to create simple nail art designs.
- Nail stickers: Used for quick and easy nail decorations.
- Rhinestones and glitter: Used to add accents to nails.
- Nail art brush: Used to paint complex designs.
- Nail bowl: Used to soak nails before cleaning.
- Cuticle oil: Used to moisturize nails after a manicure.
- Cotton balls: Used to wipe clean nails.
While the initial assortment of tools may look extensive, their potential for repeated use over an extended period justifies the investment. For avid nail enthusiasts, this toolkit becomes a valuable asset that pays dividends with every manicure or pedicure.
DIY guide to simple summer beach nails
In today’s post, we’ll guide you through creating simple beach nails for summer. Follow these basic steps and get creative with your own designs! First, select the perfect foundation for your nail art masterpiece.
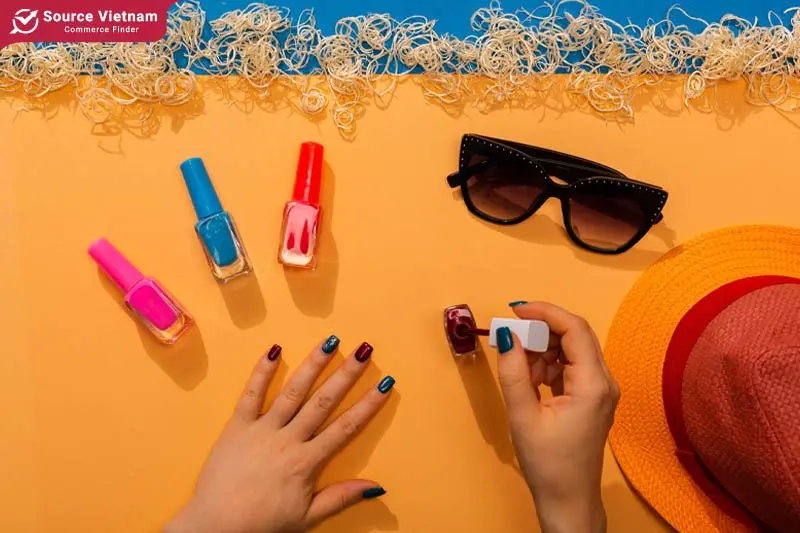
Whether you prefer the classic elegance of a solid hue, the dazzling allure of glitter, or a captivating blend of both, your base color sets the stage for your creative expression. To embark on your nail art journey, simply follow these easy steps:
- Clean your nails by soaking them in warm, salty water for 5-10 minutes to soften the skin and remove dirt.
- Use a cuticle pusher to gently push back the cuticles.
- Trim and file your nails to your desired shape.
- Buff the nail surface with a nail file (or use an electric file).
- Apply a thin base coat to all nails and allow it to dry completely if you’re using the powder dip method. If you’re using gel polish, cure under a UV lamp until completely dry.
Now, let your creativity shine! Transform your nails into a mini beach escape by adding playful elements like colorful stickers, shimmering rhinestones, or elegant pearls. For a touch of seaside charm, consider incorporating tiny seashells or sand-textured decals. Once your design is complete, seal it all in with a glossy topcoat to ensure your masterpiece lasts. Voila! You’ve created a personalized beach manicure that’s sure to turn heads.
Tips for the strongest beach nails 2024
No one wants their manicure to chip on vacation, so here are some tips to help your beach-themed nail designs last longer:
- Wear gloves when doing dishes or cleaning.
- Avoid soaking your nails in water for extended periods.
- Don’t bite your nails.
- Moisturize daily.
- Always apply a topcoat.
- Be careful when doing manual labor.
- Don’t use a hair dryer to dry your nails.
- Avoid acetone-based nail polish removers.
- Choose high-quality nail polish.
- Do not forget to do the beach summer toenail designs.
Conclusion
Now you can create your own simple summer beach nails at home! With this guide, you can express your creativity and elevate your style for your next beach vacation. For all your nail care needs, visit Sourcevietnam.com for the best suppliers nail supplies that offer a wide range of nail products at wholesale prices.
FAQ about simple summer beach nails
What are the best colors for summer beach nails?
It’s nearly impossible to say which nail color is the best or most beautiful, as everyone has different preferences. The best color is the one that makes you feel confident and happy when you wear it.
How can I make my nail polish last longer at the beach?
By following the tips in our article, you can protect your nails from damage and keep them strong while enjoying the beach.
Are there any quick-drying nail polishes ideal for beach vacations?
Consider trying quick-drying nail polishes from well-known brands. Popular options include OPI Speed Setter, Sally Hansen Insta-Dri, and Essie Speed Setter.
What nail art tools do I need for simple beach nail designs?
For a quick and easy manicure, gather a quick-drying base color, nail stickers, base coat, and topcoat. If you’re in a rush, a single bottle of regular nail polish will do.


